 www.sandromaffiodo.com
Arduino Robot UNO 09/09/2018
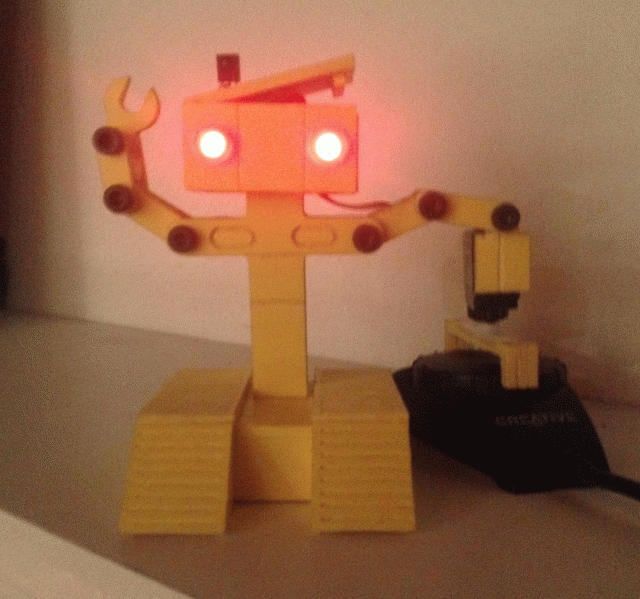
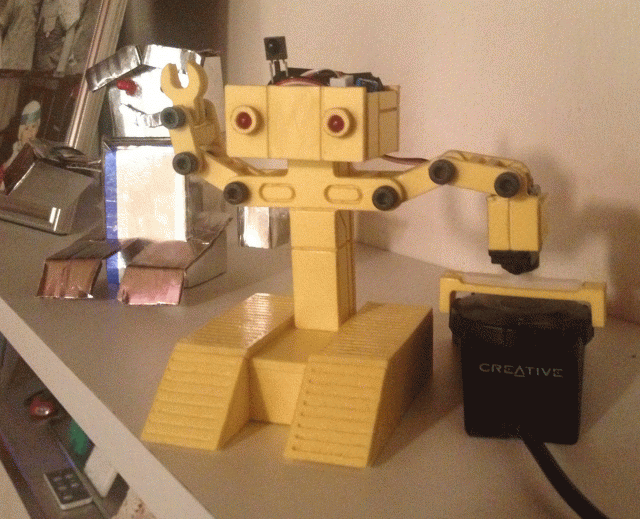
This is my first Arduino Robot, created in 2011!
The idea
The reason i have build it is that i need to control my audio system volume knob without phisically stand up, walk and turn the knob. I am laaazy :-D
I have a TV Remote with volume controls (and mute button) and i want to use the TV Remote to rotate the volume knob.
TLDR: Making of Arduino ROBOT UNO on Youtube!
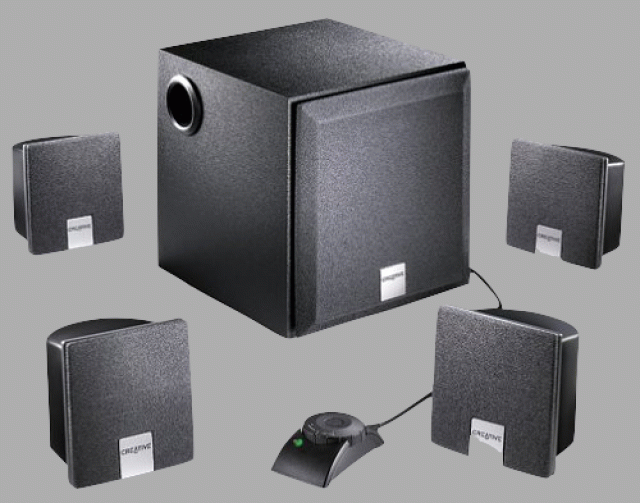
My audio system is a Creative INSPIRE Audio 4+1 Surround System that i has originally bought for my old PC. It has a volume knob to control its volume level by hand:
Hardware and Software
I have started this project by creating a tape/cardboard prototype with an Arduino UNO board, using a servo motor and an infrared receiver. Then, after some tests, i have started to modify the code so it can run on an ATTINY85 MCU, smaller than the ATMEGA328 MCU used by Arduino UNO:
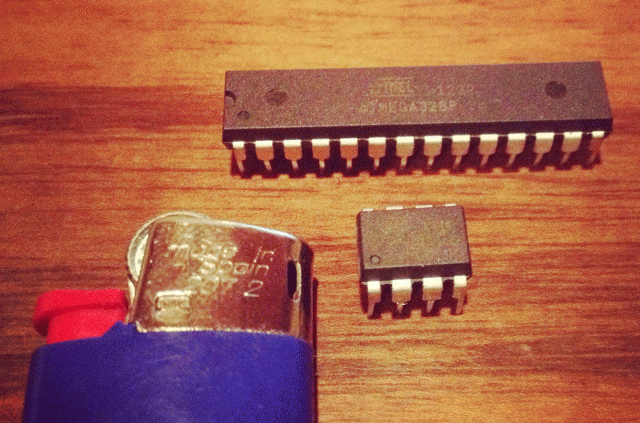
I have used the Arduino UNO board to program the ATTINY85 MCU, using an online tutorial like this. Note that ATTINY85, like ATMEGA328, has an internal oscillator that can generate the MCU clock at 8Mhz or 1Mhz, so you don't need an external oscillator (or quartz) to power the MCU. In my Arduino Robot UNO i have choose to run at 8Mhz.

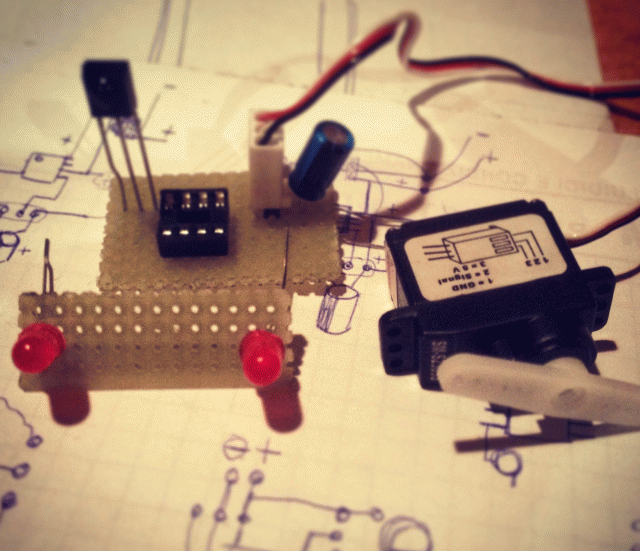
After that i have build the minimal circuit for the "brain" of the robot. The servo motor will be installed as one of the robot hands.
CNC cutting
I own a small CNC router that can be controlled via GCODE. At this point i have designed some sheets of plastic parts to be cutted and glued together to become the outer aspect of the robot.
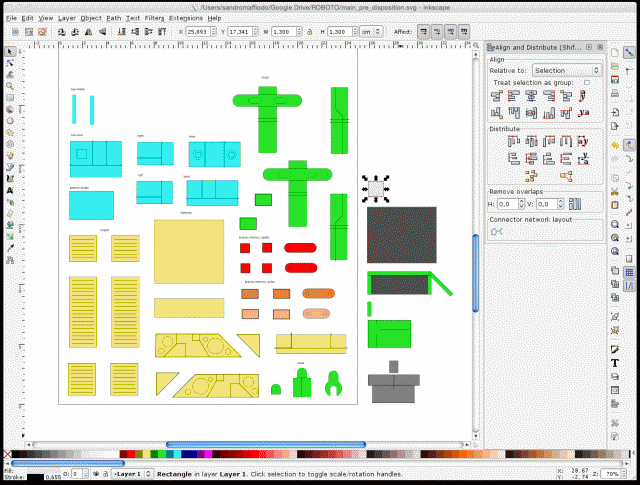
.. then i cut everythings with the CNC router ..
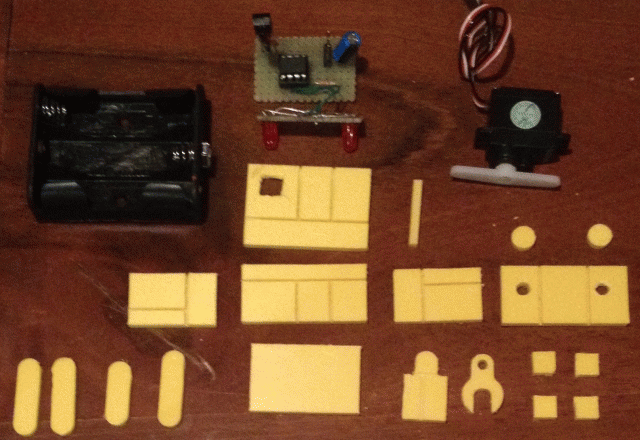
.. and glued all pieces together!
Here you can see the Making of Arduino ROBOT UNO, step by step.
After some weeks of testings i have notice that the batteries life was too short (3 AAA for week), so i have modified the hardware to get the 5V power from a cellular power supply. Now ROBOT UNO has a cable that go out from its head and connect to a 5V microUSB connector to the power supply.. :-D
Here you can download the Arduino ROBOT UNO sourcecode.
Design note
The ROBOT UNO design is inspired from my childhood best robot film: Short Circuit!
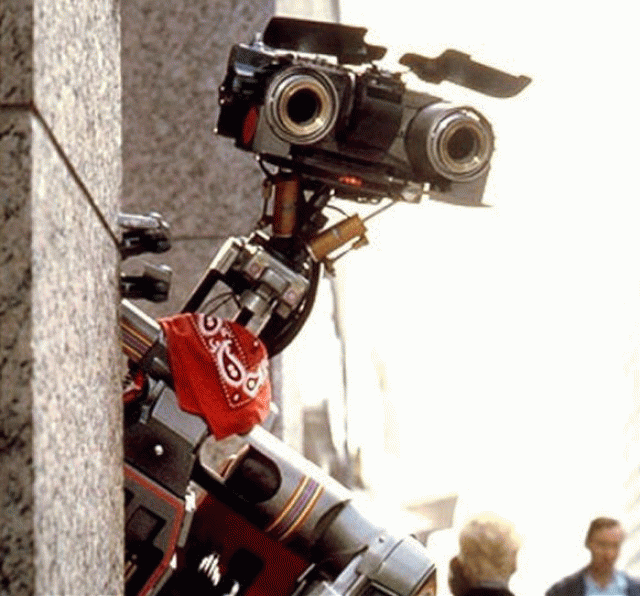
Long live Jhonny Five! Inpuuuut, MORE INPUT